A stiff lower back has a way of making every chair in the house feel like the wrong chair. You stand up from the sofa, put a hand on your hip, and wait a beat for everything to catch up. Then you sit back down and do the whole thing again an hour later.
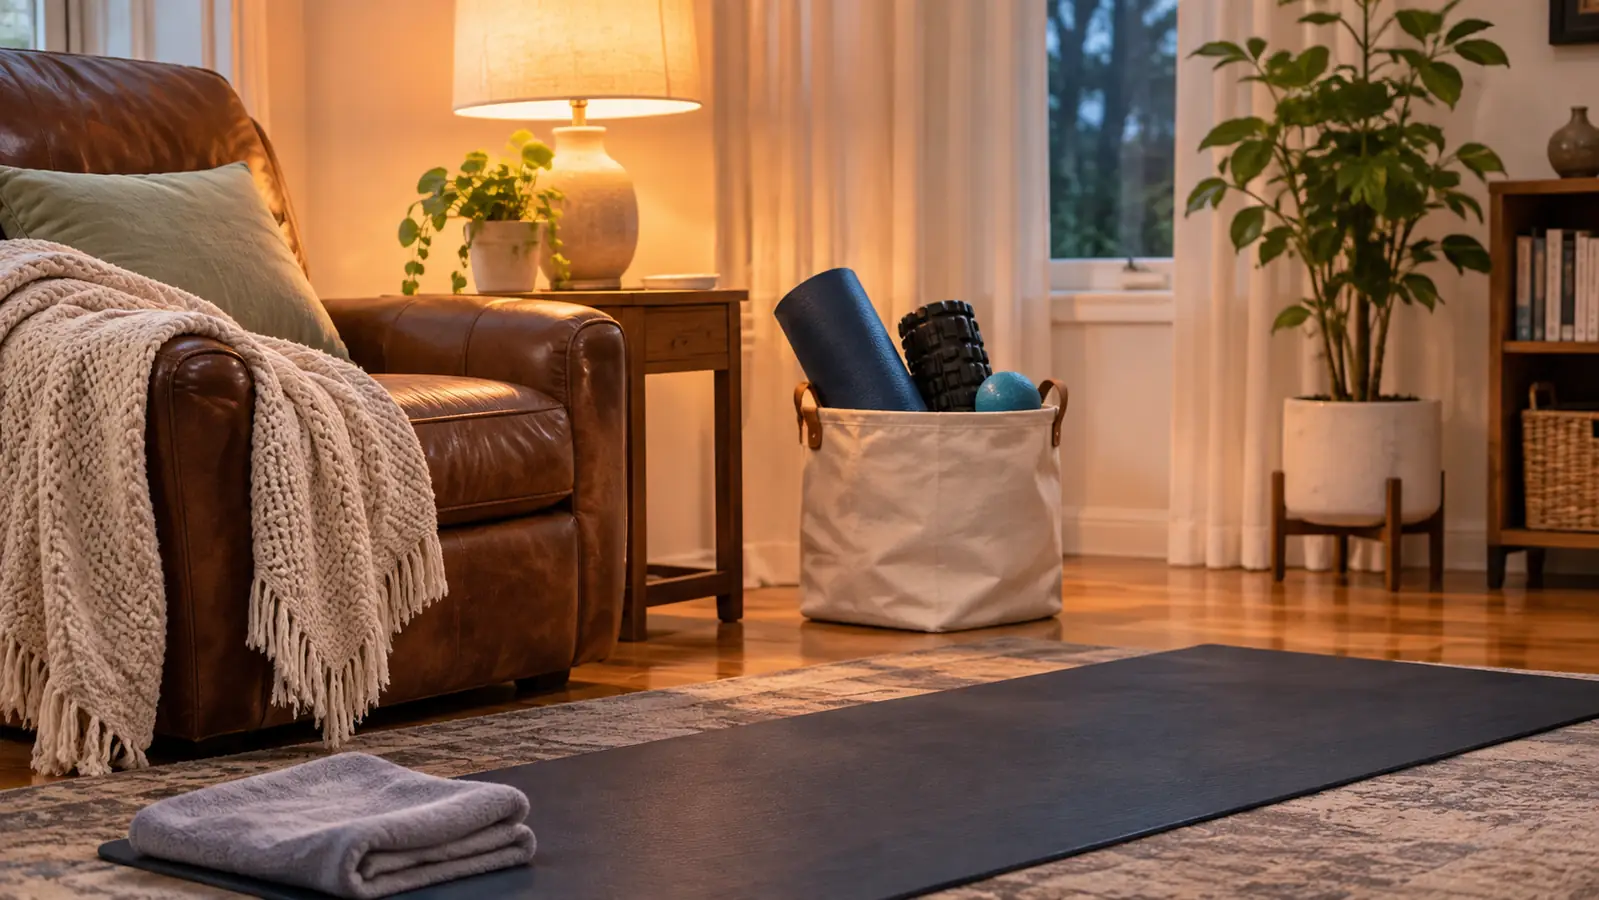
I am Delphine Marsh, 54, a dental hygienist in Greensboro, North Carolina. Twenty-six years of leaning over a dental chair left my upper back and right shoulder tight. The three miles I walk most mornings and the weekend gardening finish the job on my lower back and calves. I am not a physical therapist and I am not a doctor. I am a person with a two-story house, a staircase I go up too often, and a canvas basket of recovery tools next to the recliner.
The tool that keeps coming out of that basket is the Magic Back Support Back Stretcher. It is a small board, 6.3 by 3.94 by 0.71 inches and 1.54 pounds, made of ABS plastic, with multi-level height adjustment so you choose how much curve you get. It needs no power and no battery. Your own body weight supplies the pressure. What follows is the sequence I use, the mistakes I made in the first month, and the point at which I stop and call someone with a license.
Nothing below needs a subscription, a video course, or a stranger's hands on your back. Five steps, one board, two minutes, and the habit of doing it before you get too tired to bother.
Start on the lowest level, not the highest
The Magic Back Support Back Stretcher is height adjustable, needs no power, and slides behind a chair cushion when you are done with it. I would spend the first week on the lowest setting and nowhere else.
Amazon Check Today's Price on Amazon →Step 1: Put It on a Firm Surface First
The listing gives you bed, chair and car as options, and all three work. For the first week, though, I would take the floor every time. A mattress gives under your weight, so the board sinks with you and you lose the sense of where it is pressing. A firm surface keeps the pressure predictable. It also lets you get off it in about two seconds if you do not like what you feel.
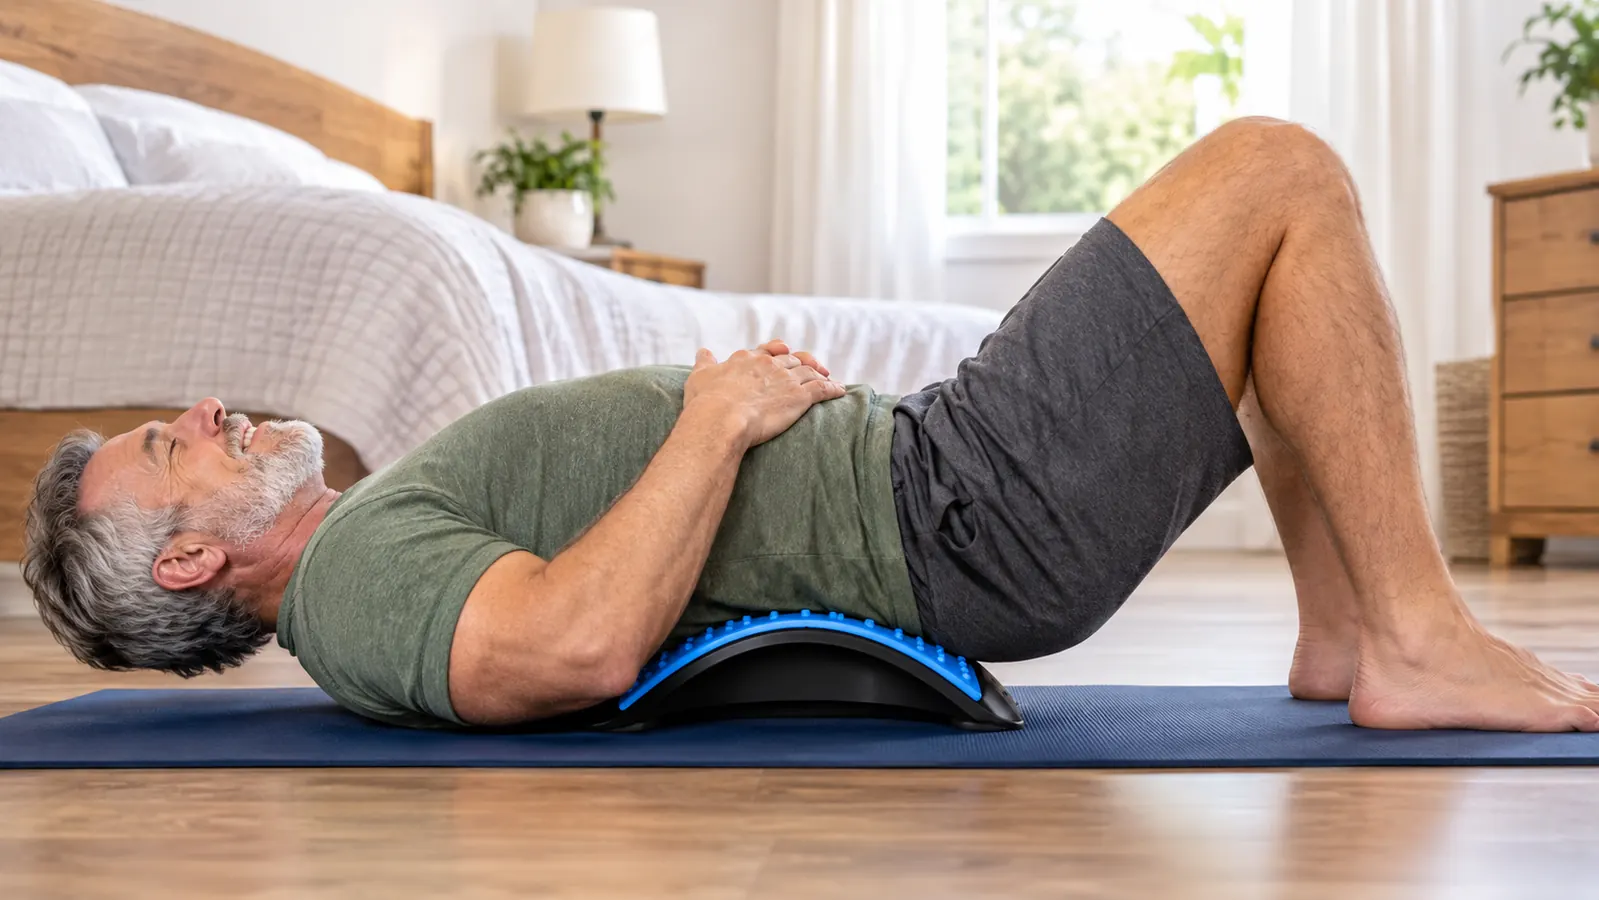
My setup is a yoga mat on the bedroom floor, the board at one end, a folded towel under my head, and my phone face up next to the mat with a two-minute timer running. That is the whole kit. The towel matters more than it sounds like it would. Without it my chin drifts toward my chest and I spend the two minutes thinking about my neck instead of my back.
If the floor is genuinely hard for you to get down to and up from, a firm chair is the next best place to learn. Sit all the way back, set the board against the chair back at the height you want, and lean into it. The pressure is lighter that way, which is not a bad thing for a first session.
One more detail about the floor: put the mat where you will walk past it. Mine is between the bed and the bathroom door, so I see it on the way to brush my teeth at night. That is not a small thing. A tool that lives in a closet gets used twice and then never again.
Step 2: Pick the Height Level Before You Lie Down
The device is height adjustable, and the levels are the whole point of it. Set the level while you are standing, with the board on the mat in front of you. Changing it once you are lying on it is awkward, and I have pinched a fold of skin on my side doing exactly that.
For the first week, pick the lowest level. I did not. I picked the highest one because I assumed more curve meant more relief, lay back on it, and lasted about forty seconds before I rolled off with a spot beside my spine that felt bruised for two days. Nothing dramatic happened. I just did not need that much.
If the lowest level feels like nothing at all, spend the week there anyway and let your back get used to the position. The level you can lie on for two relaxed minutes beats the level you can only tolerate for thirty seconds.
The board is light, 1.54 pounds, so moving it from the mat to the recliner to the car is a one-hand job. That same lightness means it can shift as you settle onto it. I set it on the mat rather than the bare floor for exactly that reason, and I keep one hand on it while I lower myself down.
Step 3: Place It Under Your Lower Back, Not Your Ribs
Slide the board under the curve of your lower back, the part that lifts off the floor when you lie on your back. Too low and it sits under your tailbone and does nothing. Too high and it jabs under the ribs, which is a sharp, distracting pressure rather than a stretch.
Then bend your knees and put your feet flat on the mat, about hip width apart. Let your hands rest on your stomach. Bend your knees is the instruction I would put in bold if I were writing the box, because legs straight out changes the whole angle and makes your lower back work instead of letting it settle.
Do not chase a perfect spot. I spent my first few sessions sliding the thing up and down half an inch at a time, looking for a feeling that was not coming. The position is right when the pressure is even on both sides of your spine and you can breathe normally. That is the whole test.
If the pressure feels uneven, you are probably lying at a slight angle. For me it is always the shoulder on my right side, the one that spent twenty-six years reaching over a patient. Shift your hips an inch toward the lighter side and the whole thing evens out. It took me a month to figure that out, and I had assumed the board was crooked.
The night I dropped to the lowest level and stayed there for two minutes, I stood up from the mat without bracing a hand on the floor. That had not happened in weeks.

Step 4: Two Minutes, Then Roll Off
Two minutes is the number. Not twenty, and not until it stops hurting. Two minutes, then off, then see how you feel an hour later.
While you are down there, breathe out slowly as you let your back settle onto the board. Do not hold your breath and do not try to push your back down into it. The device does not need you to fight it. Body weight is enough, which is the entire design idea: no power, no battery, no motor, just your own weight against the curve.
Getting up matters as much as lying down. Roll onto your side first, then push up with your arm. Sitting straight up off the board is the move that made me wince in week one, and it took me an embarrassingly long time to connect the two.
An hour later is the useful measurement. Not how it feels while you are on it, which is mostly a stretch, but how you get out of the recliner later that evening. I wrote it down for a week because I am the sort of person who writes things down. The note that says got up from the sofa without the hand push is worth more than any opinion I had while lying on the mat.
Step 5: Add Time Slowly and Move It Around the House
After a week at two minutes, go to four. After another week, six to eight if the first thirty seconds feel easier than they did the week before. If they feel sharper, drop a level or cut the time back. That is the whole progression. It is not a workout and there is nothing to prove.
The Magic Back Support stretcher also works in a chair. Set it against the back of the recliner or a dining chair, sit all the way back, and lean into it while you read or talk on the phone. I do this after supper, usually for five minutes, while Glenn tells me about his round. It is a lighter pressure than the floor and it fits into a conversation, which is why I actually keep doing it.
In the car it goes behind the seat back on a longer drive. I would only do that from the passenger seat or in a parked car, never while driving. Once your lower back has had a couple of good weeks, try it a little higher, between the shoulder blades, for the upper back tightness that sent me looking for a tool in the first place. The listing covers lower and upper back, and in my experience the upper position is a smaller, gentler movement. Five minutes is plenty there.
Give it three weeks before you decide. My first week was unimpressive and I nearly put the board back in the basket for good. The change showed up in the second and third week, in small things: reaching the top cupboard, pulling my socks on without sitting down on the bed, standing up from the floor without a hand on my knee.
What Else Helps
The two minutes on the board is the smallest part of my day, and it only works because of the rest of it. Three miles most mornings does more for my lower back than any tool in the basket. When I skip the walk for a week, the stiffness comes back and the device feels less effective, even though nothing about the device changed.
Standing up every half hour matters too. Twenty-six years of leaning over a dental chair taught me that my back likes movement better than any single position, including a good one. The board buys me a reset. It does not buy me a pass on the rest of the day.
Glenn is its own argument for keeping the thing in the living room. He borrows it for his hips and shoulders after a round of golf and leaves it on the floor for me to trip over. If you are going to share it, and you probably will, agree on where it lives. Mine lives in the canvas basket by the recliner and, on the nights he borrows it, nowhere near where I expect it to be.
Heat helps me and it may not help you. I use a warm shower, not a heating pad, and I would check with a doctor before putting heat on anything inflamed or injured. That is not caution for its own sake. It is the advice I would give my sister.
When to Stop and Call a Professional
I am not a clinician, so I will keep this short and plain. Stop and check with a doctor if the pain runs down a leg, if you get numbness or tingling, if it started after a fall, if it wakes you at night, or if two weeks of gentle use leaves you worse instead of better.
Also stop if the device itself hurts in a sharp, local way rather than a broad stretch. Pressure on a sore spot is not a test of character. My rule now is simple: if I have to brace against it, the level is too high or the day is wrong.
And if you are in the middle of something bigger, a disc issue, a fracture, recovery from surgery, ask before you start. The board is a tool for everyday stiffness. It is not a treatment for anything, and it is not a substitute for a person who can look at your back and tell you what is actually going on.
Two minutes tonight, then two minutes tomorrow
The Magic Back Support Back Stretcher is the one tool that has stayed in the basket by my recliner. Height adjustable, no power, no battery, and light enough to carry between the floor, the chair and the car.
Amazon Check Today's Price on Amazon →